Wednesday, September 16, 2015

Tranquility

"Tranquility"


Hello Everyone!
Jackie here again,for another Wednesday guest designer appearance on Gina's Blog
Gina, thank you so much for inviting me!  

I can't tell you just how much all of your wonderful comments and FB likes and Google+'s have meant with my last project for Gina's! 
Thank you,Thank you!!
*******************************

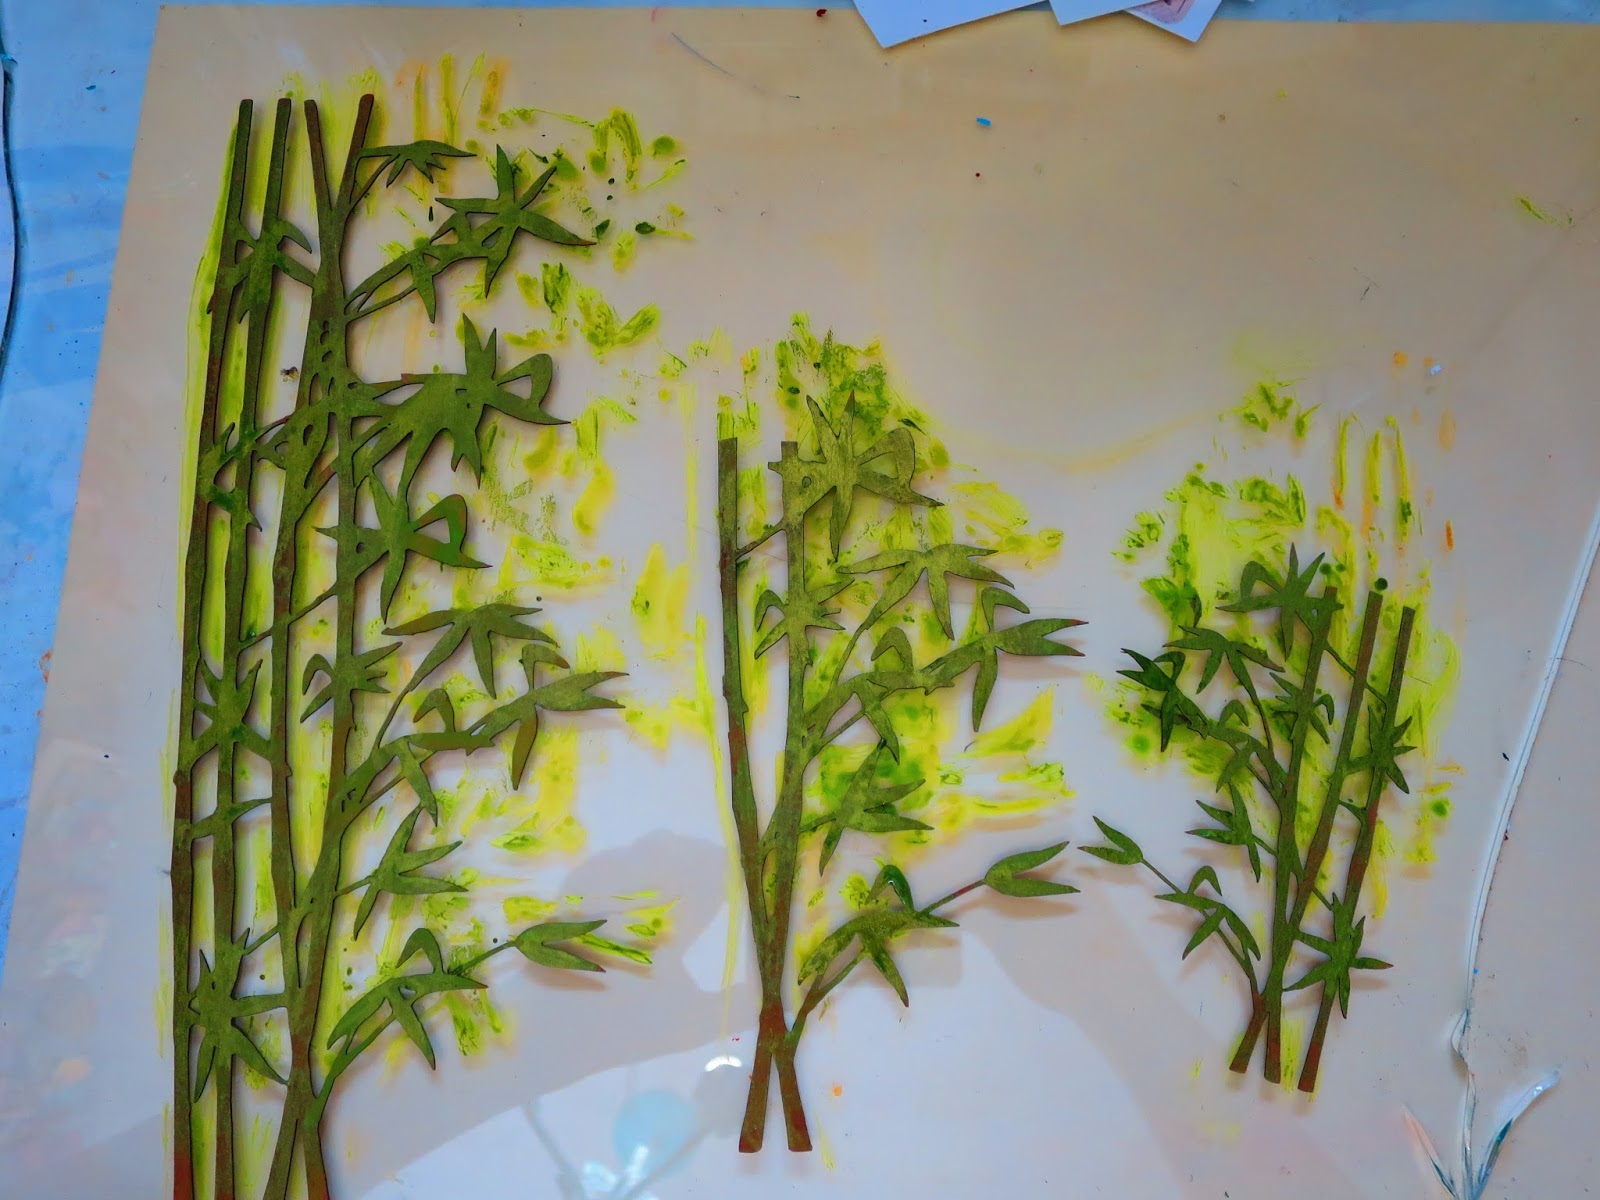
When I saw the Bamboo Shape Set
at Gina's,I oohed and aah-ed and knew just what I was going to create. 
 I started with this wood substrate(I think this was from a desk that held pens&pencils)that I gessoed and papered with vintage pages and scrapbook paper background. 

The reason for choosing this substrate was because I had layers in mind,and in case you didn't know,I love to upcycle! ")
The bamboo pieces went through a color treatment.
1.Brushed Corduroy Distress Ink with water on the stems
2.Green Gold Fluid Acrylic with water over the whole piece
3.Olive Vine Silks to highlight the leaves


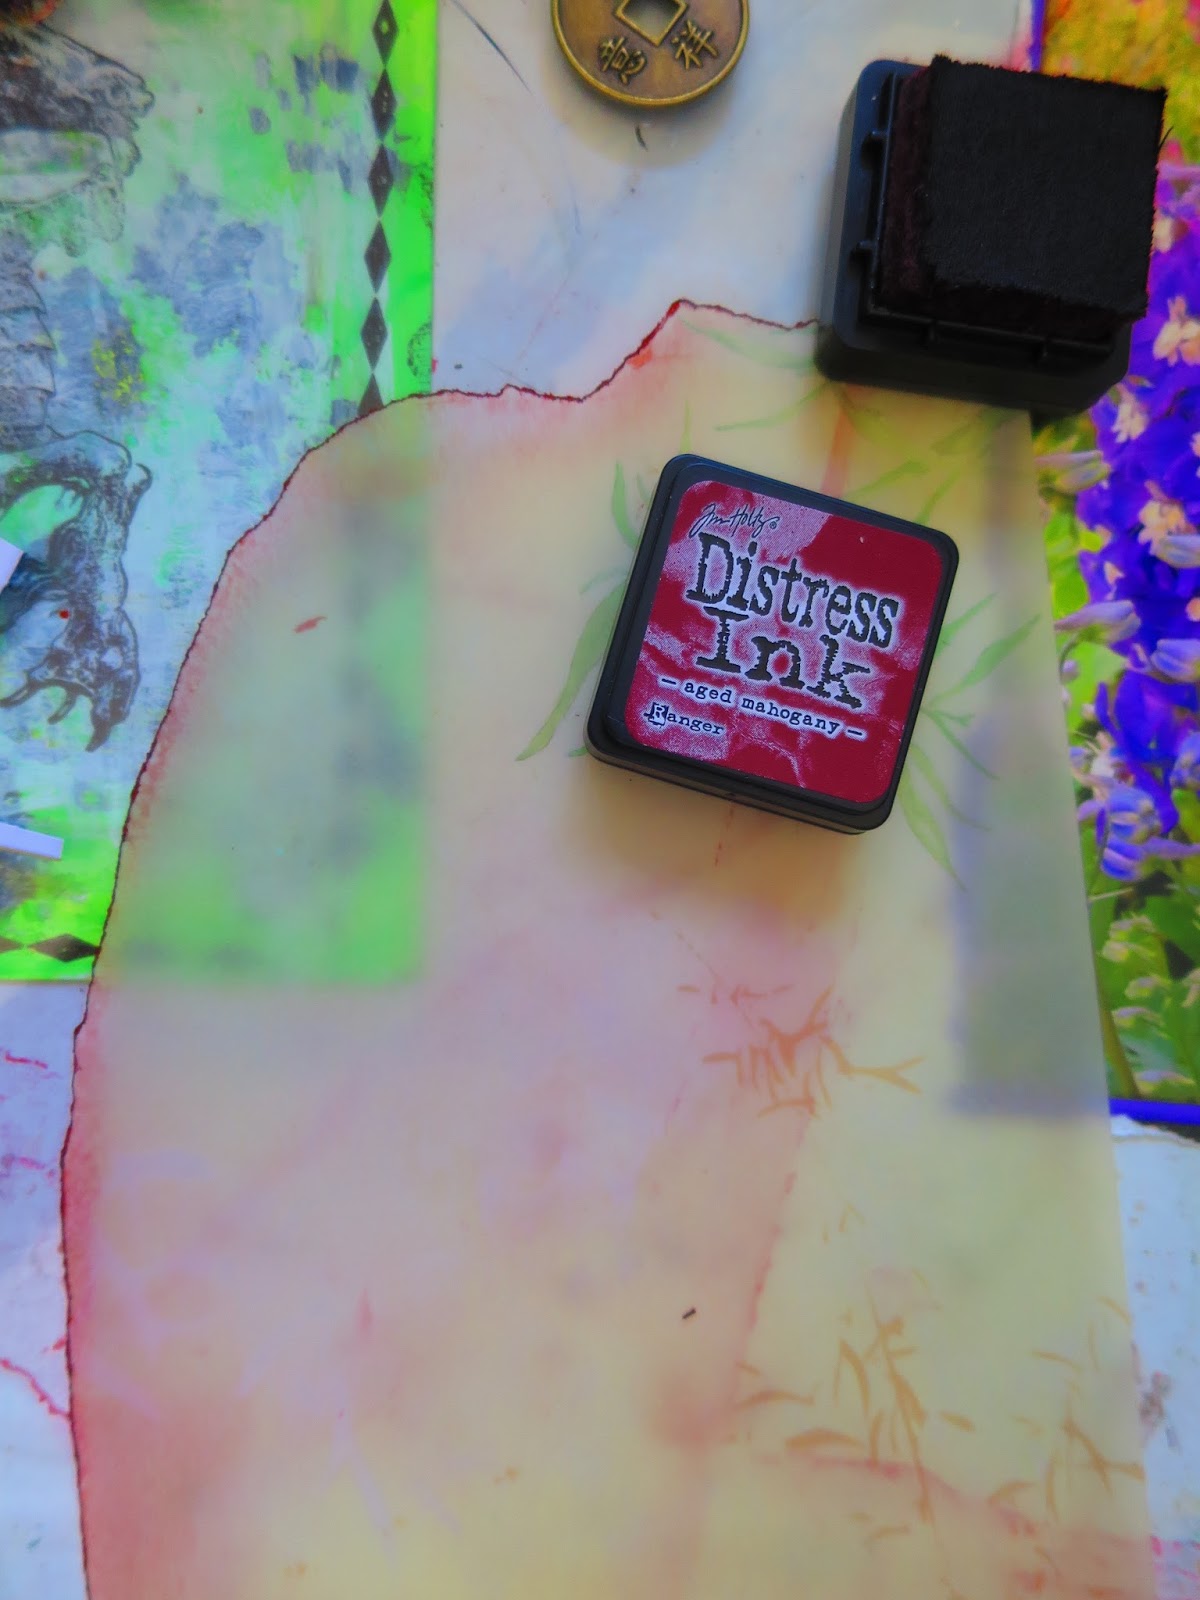
After giving the pieces color,I began by layering with velum paper and then more bamboo. 
These pieces above were one piece that I snipped in two.
also at this point I inked up the edges of the torn velum with Aged Mahogany .
 The velum was tacked down in a few spots using Jewel It.
 After printing out my Geisha 
by Cryztal Rain,she was layered twice on black cardstock before her final cut.
Going for the layered effect...


For my title piece tranquility I used one of the
For the colors,I started with a base coat of Pixie Pink on each piece. Next,on the bottom piece I used Quinachridone Magenta,and for the top piece French Lilac.
After gluing these pieces together and hand painting my phrase on,this was attached by painting a wood stack and gluing it to the backside of the label. 
 again, going for the layers-are you detecting a pattern here?heehee
 At some point, I decided I wasn't digging the vintage papers and covered them with scrapbook paper.
  I had these really neat lanterns in my stash that were being saved for just the right project- and here it was! I drilled a tiny hole and added a tiny eye hook and attached the lantern with jump-rings.The lantern was also painted with the colors used on the label.

Next up before gluing in the bamboo,a friend(thanks Becky!) gifted me some really gorgeous beads which were added under the Geisha's feet. Glued in place with Jewel It Embellishing Glue. For those of you not familiar, this is  like Glossy Accents,just a bit less expensive.

Next, the bamboo was glued in place using E600.


I hope you can see in the photos,the effect I was going for by gluing down some areas of the top bamboo against the background to give depth.


And for my final accents, I used a pair of corners from the  
Art Deco Corner Set
painted with two coats of Interference Magenta.


 I  really am pleased with how this turned out.
 Again, let me say just how beautiful and detailed the cuts are from Gina's Designs pieces!
 By now, you can tell that I am a fan!!


thanks so much for your visit and generous comments my friends- Huge hugs to you all!!
Peace and creative wishes ,
Jackie ")


Friday, September 11, 2015

Windmill upcycle with DecoArt Americana Chalky Finishes


Hello and welcome to the weekend!
Today I am sharing with you my last entry for the DecoArt Second Chances contest, our upcycled windmill. 
(The contest is now over,and no,I did not win but had a great time designing and creating pieces for it! Congratulations to all the lucky winners!)

Back to the windmill,I thought I had posted about this when we bought it a year ago-but,after just spending the last hour going through ALL of my posts,I cannot find it!! I have been known to write posts in my sleep,and just forget to translate them to the computer! heehee
 Anyway, we picked this up at auction- a real steal at $5.00!! Guess I was the only one who could see the potential here!
 
 We decided right away that we both liked the "beat up" blade as it is-it adds to the charm ")
 Cleaning it up removing some UN-necessaries  and tightening her up before the paint!
Gessoed the blades first
 added color and stenciling

I wanted you to see the close up of the center-After looking through my stash,Riley had the idea to use the old muffin tin to cover the mounting bolt! I love it!! Thanks my sweetie!
 

Chum wanted in on the photographs- he is such a poser! ")
 
  I have to say,my inspiration for this design was our American flag.
 another photo with the sun shining on it!
Here we have our bit of Americana,
on the "Art Barn",as my artistas lovingly named it!

 Americana Decor Chalky Finishes~
Rouge
Relic
Carbon Black
Escape
Americana Multi Surface Satin~Cottonball
Americana Decor stencil"Distress Harlequin"
Andy Skinner "Tornado" stencil  
 Andy Skinner "Whirlpool" stencil 


I do hope you enjoyed your visit! Thanks for stopping and if you are not a follower- why not join me now? Have a super weekend!
Jackie ")

Wednesday, September 9, 2015

Gina's Steampunk FANTASTIC Journey

Hello and welcome everyone!
 I am over the moon excited to be the September Guest Designer at Gina's Designs!!
The first time I saw Gina's laser cuts used were on a friend's blog. 
 Straight away I had to go check out the store and you know what-sent my first order in that day! ")
Thank you,Nichola Battilana for

 turning me on to Gina's Designs!

 For my first project, I went all out with Steampunk!
 When I received my pieces I knew I had to use the steampunk parts first thing-
 I love the chipboard assortment that Gina's has
​to offer,so much to choose from​ and so detailed & intricate.
"Fantastic Journey"


The substrate here is an upcycled jewelry box. 
 Perfect to showcase Gina's steampunk elements!
I tore out the insides and gave an overall coat of black gesso.
After the gesso dried I added vintage dictionary pages which were stamped with steampunk shapes to the inside,back and sides of the box.

 This little lady with the missing hand became my Steampunk star once she was refitted with a Corset and Dressforms turned Caged Hoop Skirt from Gina's!

For my Gears,I coated them with embossing powder and then layer and layers of paint for a grungy,rusty look.​
With the Black Steampunk Cardstock Doily Set, I used embossing paste  mixed with Mica powder through a gears stencil over areas on the doil​e​ys. 
When dry,I added color with Media Line Acrylics to the embossed areas and then I cut and molded the doilies onto different areas of the box,inside&out,using 3D gel paste.


for this Doily I used embossing powder as well as embossing paste
Here I used hands from the Clock Hands Set
which I attached with a furniture tack.
                                                          
Next for my Steampunk lady, I used two different sizes of the Dressforms cut and fitted to make her cage dress. After cutting off the leftover netting from the doll,I wet down the cages to make them pliable.Then,I molded these,glued in placed and continued to paint them once the glue dried.Next,the Corset from the Dressforms Set was glued on and tiny watch gear embellishments were added.At this point she needed coverage for her 1.5 hands,so gloves were made and glued in place.Her ensemble was then finished off with black lace for a bustle and along the hem of her skirt with a layer of red trim.After her top hat was glued in place, more tiny watch parts were added to her hat,gloves and hem of her skirt.

 Here you can see my lady was also fitted with glorious Wings painted,drybrushed and edged in gold.

Inside the box you can see more of the Steampunk doily as well as
 FANTASTIC from the Word Ribbon 3 Set. 
Vintage tube bulbs were glued in the box and more Steampunk Doily added to the front corners .
and now for some close ups...

the circle piece was off of something I disassembled and kept parts from- I have no idea what!

feet were added using large tacks glued into drilled holes


Other products used:
Tim Holtz Distress Embossing Powder-
Vintage Photo
Wendy Vecchi Embossing Paste-
 Clear
Finnabair Art Ingredients Mica Powder-Copper
​Finnabair 3D Gloss Gel​​
DecoArt Media Line Paints
E600 Glue 
StencilGirl Stencil-Gears by Mary Beth Shaw

I absolutely had a blast making this piece and can't wait to show you more of my creations over the next few Wednesdays- so be sure to stop back!!
 Please stop in at the teams blog and have a look at the design teams projects as well as Gina's FB page for challenges and more inspiration!

I can't thank you enough for all of the blog love you leave as well as your encouragement and support!! You are the best!!
Hugs & Peace
Jackie ")