Friday, November 28, 2014

Winter wonder

Greetings to all ~ and happy day after Thanksgiving ")
Here's a quick picture post with a wee bit of art from me and much more from Mother Nature- enjoy!


 Remember last month's Dia de los muertos pumpkin
             this is it~upcycled~with a facelift.


The morning sunrise was dancing on the tree tops with the dark sky and threat of more snow in the distance.


This is the White Birch seen from my studio window... the first picture is just last week...the one on the right is this morning.

Chum is hung over this morning from too much turkey and way too much fun! 
The grandkiddos came over and the three of them played like crazy!
Chum secretly thinks he is one of the kids! teeheehee


                                    Refill the suet,please!! 
     The Hairy Woodpecker still pecks at every last morsel!
                       Cool designs carved out from snow and ice

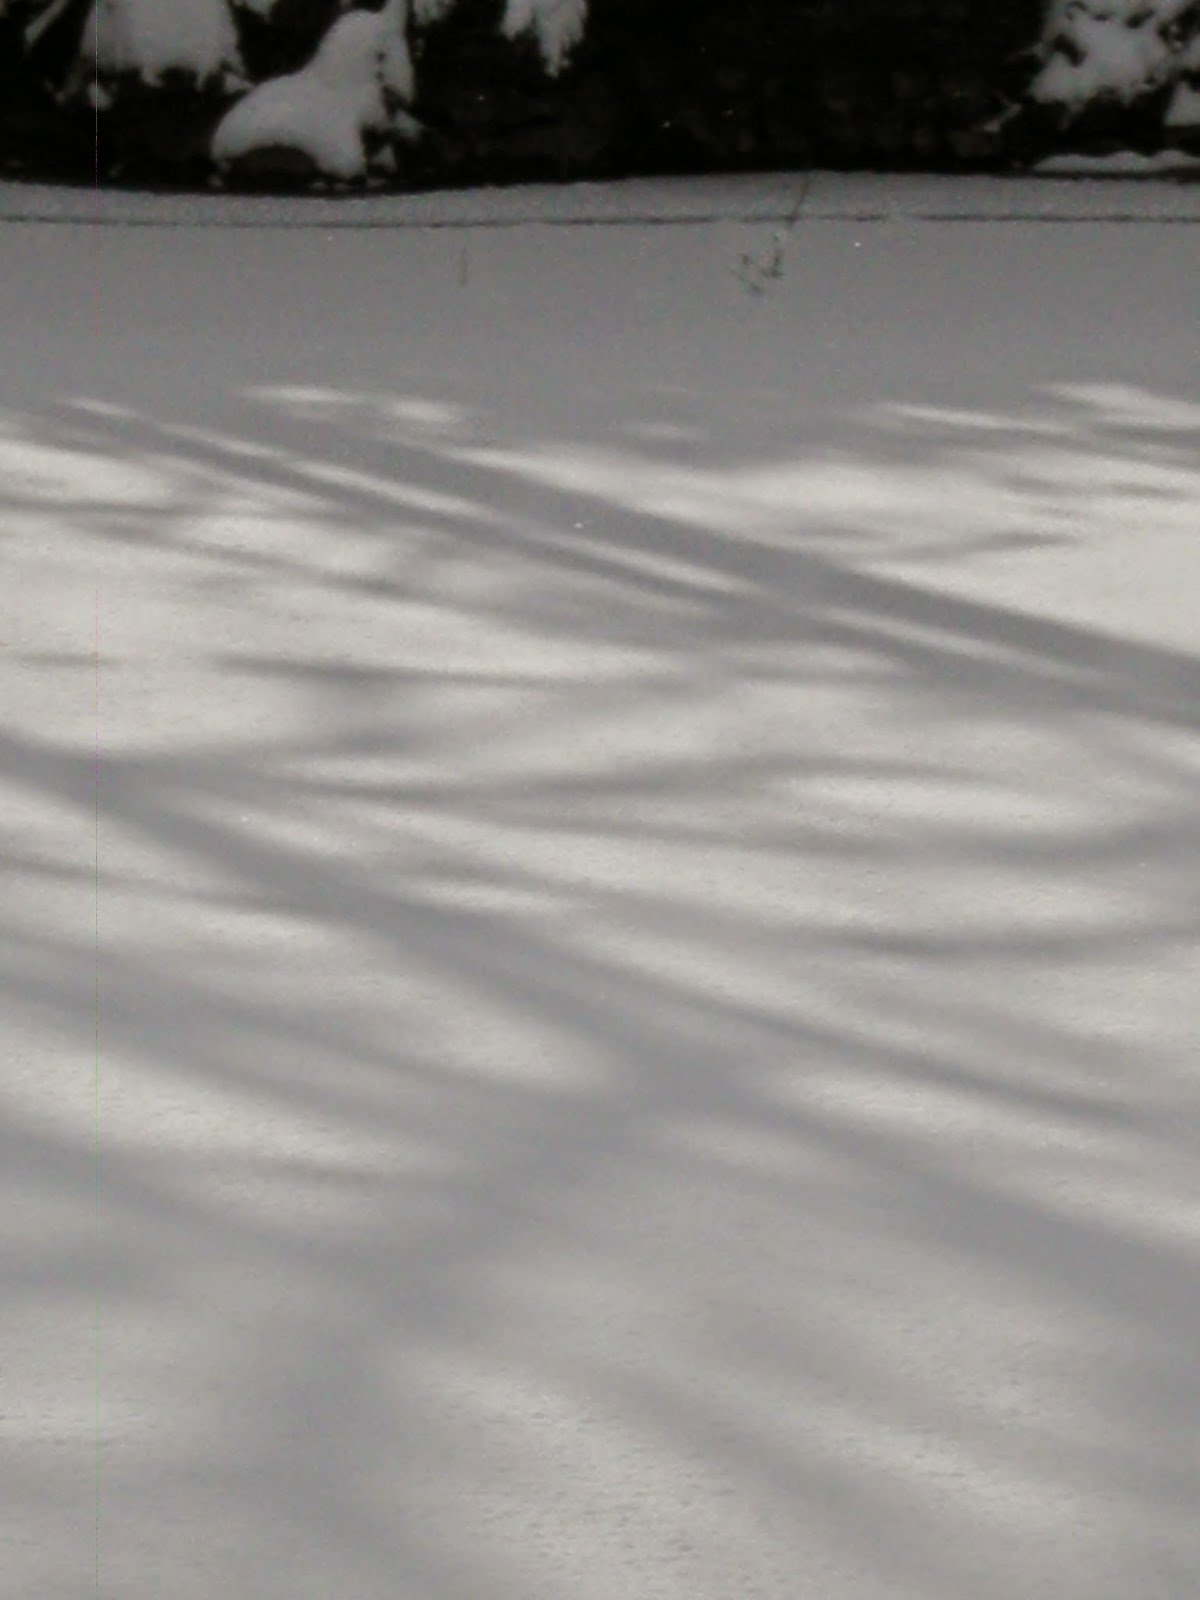
                        Sun play on the trees over the pond.


Early this morning on the pond as seen from our bedroom window
 
 One of our regulars, a Mourning Dove perched, waiting patiently for his turn at the feeder.


Thank you for joining me and I do hope you enjoyed some winter wonder from my neck of the woods. 

I also want to thank you all for your visits as well as your wonderful words and comments. I am very grateful for this and for all of you!  xo

Jackie ")


Sunday, November 23, 2014

Birds,bees and butterflies memory book

   Welcome!
I have been in the studio creating while the snow has been falling outside...
and no, not at all like Buffalo,New York! thank goodness ")

Today's post is picture heavy, as I show and tell how I created this vintage~distressed memory book with a recycled card box and DecoArt products.


For my project, I used a recycled card box that I painted inside and out first with gesso.

 
Next I covered the outside of the box with Americana multi-surface Satin~Muted Gold
 I dry-brushed over the spine,back,top and bottom edges with  Dazzling Metallics~Splendid Gold
 
  On the back of the book,I applied a generous coat of Americana Weathered Wood Crackle Medium
 While still tacky,but almost dry,I brushed Media Fluid Acrylic~Quinachridone Burnt Orange mixed with Glazing Medium.


 On to the front of the book
 For this,I printed out a vintage book plate of Bees picture to use as my first layer.
 I applied Americana Decou-Page Transfer Medium to both the book and to the front of the bees picture. Waited overnight for this to dry.
The next day, I brushed a generous coat of water over the picture and let it soak for 5 minutes. Gently I started to rub off the paper revealing the image underneath.

 Next I added 3 butterfly images that I also printed out and fancy cut again using the Deco-PageTransfer Medium and technique
.

Because I used a heavier paper to print,my butterflies have added a bit of dimension to to the layers.

My next step was to scrape on modeling paste with sand added around the outside of my butterflies and bees.
Now,I layered colors to this using Raw Umber, Burnt Sienna, Quinachridone Burnt Orange and Dark Scarlett.  
When these layers were dry, I brushed layers of Worn Penny and Venetian Gold . 
Next, added was another layer of modeling paste through a Damask stencil.
 When this was dry I continued to build up layers of color using the Worn Penny,Venetian Gold, Splendid Gold,also adding a hint of Carbon Black.  
I also used the golds and black on the edges of the sides and back of book as well.

 When dry, I gave the inside design on the front cover a generous coat of Triple Thick Gloss Glaze.

                                On to the inside of the box

 After securing my ribbons, I cut and glued the inside papers using scrapbook pages from my stash.

                     
Time for another transfer-this time on the inside cover of the book; again using the Deco-PageTransfer Medium and technique


   After the transfer was complete,a bit of distressing around the edges was added.


                                                                 My completed Book


 I do hope you enjoyed my step by step and hope that maybe you were inspired to create today!!

Jackie ")


Linking up with
Country View Challenges-Bugs,bees and butterflies

Tuesday, November 18, 2014

Snowy Vignette

 It's beginning to look a lot like...
no, no, I won't go there yet. 
However, I am feeling a bit festive earlier in the season than usual- perhaps it is because of all of the festive creativity across the web! 
Today, I am sharing my first ornament of the season...

                       "Bringing home the pine-cone"


  For this project I used this adorable "tea house" from Paper Whimsey.
First, I assembled the house with glue and then painted inside and out with gesso.
I had no idea what I was going to do-or where I was headed!
Next,out came my DecoArt paints-The roof was painted in Americana~Dark Scarlet  and the body of the house in MediaFluidAcrylic~ PhthaloGreen-Blue .
 After painting the inside with the Americana~Muted Gold (one of my fav colors) I decided that I wanted my little house to look old and crackley (is this even a word?) and I needed a light color underneath!
 So a bit of light sanding was done and a quick coat of Muted Gold over everything. When dry I applied a good coat of DecoArt Media Crackle Glaze. The trick with this is to let it just dry to tacky- do not over dry, then apply your top layers of color- which were my first colors above. 
Next, sit back and let the crackle begin! teehee


 For the inside I used a mix of DecoArt Media Fluid Acrylics~ Primary Cyan,Titanium White,Dioxine Purple and Interference Turquoise to create a wintry snow scene on the back wall.
Then, I backed with heavy cardstock and fancy cut out my figures for inside-
 
 After gluing my figures in place and adding vintage pieces, mini deer, crystal branch pieces and a few mercury beads, the bottom floor of the house was covered in snow glitter!


 I hope you enjoyed my post-and that maybe I have inspired your creativity today! 

Jackie ")