Friday, April 29, 2016

Sharing some Gecko Galz love!


Good Friday morning!!
 Hope it is warm and sunny where you are! 
Here, Mother Nature threw us a curve and gave us not two..but three more mornings of hard frost! Yikes! Hoping she is done now~thank you very much MN!

On to my post,today I am sharing a few pieces I have put together using my Gecko Galz collages...
sit back and enjoy the views!
and ps...don't forget to pick up your free digital stamp and the end of the post!

This is an accordion book I have laid the background coloring for years ago.
 Recently found in my hoard,it was time to begin again!

 Seems lately I have been finishing up previously started projects-Go Muse!!


 Please Feel free to right click and save to your computer your FREE digital stamp here from Gecko Galz Blog!
Gecko Galz Collage sheets used:
Birds&Butterflies
Butterflies Fly Free
Little Asian Girl 1
Steam Powered
Butterfly Kisses

and here is a sneak peek of my upcoming project!
  See you again soon!
Jackie ")

Tuesday, April 26, 2016

Fantastical Gears


Playing with a bit of Steampunk,Industrial,Fantasy and lots of Gears!


Images used on this tag are from Gecko Galz~
Steampunk Steam Powered
Various gears

Playing along with the new challenge over at Mixed Media World
GET IT IN GEAR #13


Monday, April 25, 2016

Ode to Spring!

I do believe Spring has finally arrived here in our neck of the woods! We have already had two mornings of frost on the crocus,so fingers crossed,Spring is here to stay!


I love these colors-so bright and cheerful-especially after a gloomy winter!


1.)I started out with a wooden plaque from the thrift store,removed the metal pieces from it and sanded it down.

2.)Coat the plaque with white gesso

3.)Using Jessica Sporn's Stencil~Namaste' , scrape clear embossing paste through with a palette knife.
I used embossing paste as I wanted the shine it yields.

4.)While the paste was still tacky,spray several coats of  Lindy's Stamp Gang Starburst Sprays in ~Magnolia Magenta Gold,Hi Maintenance Magenta,Wild Honeysuckle Coral 
as well as Tattered Angels~Polka Dot Pink

5.)On separate paper, I stamped IndigoBlu~Wild Flowers with Black Archival ink-let dry

6.)When dry, I tattered the edges of the stamped image paper

7.)Next spray small amounts of Lindy's~California Poppy Gold,Glory of the Seas Gold,Bells of Ireland Green,Magnolia Magenta Gold,Hi Maintenance Magenta,Wild Honeysuckle Coral
 and also Tattered Angels~Polka Dot Pink sprays 
in a palette to use as watercolors to paint in  background and flowers. 

8.)Once dry,center and glue down stmped piece leaving edges up and furled slightly

9.)My mini dragonflies are made from scanning my Tim Holtz~Layered Dragonfly Die,one I had previously made and for another project,and printing this out smaller. 

10.)Fancy cut and add DecoArt Clear Crackle to these before gluing into place.

11.) Add sentiment if desired.


These colors are as vivid as they look and speak so much of Spring and new beginnings to me!
 Thanks for viewing and hope you enjoyed your visit!
Jackie ")


I am participating in these challenges with my Ode to Spring piece-stop by and see all the other wonderful entries and don't forget to leave some blog love!


Vintage Journey


Rubber Dance Stamps


This is my very first time entering a stamped image challenge and my 
very first time entering with Craft Stamper!


IndigoBlu


Country View Craft's

Friday, April 8, 2016

DecoArt~ting a vintage Jewelry Box


This box has been a work in progress and I am happy to say it is finished and full!
 I only wish these pictures did this justice-the coloring is truly magnificent-in my opinion of course!
 As you may know of me,I like to upcycle/recycle and garage sale/hoard ")
 Well,I got going on collecting these vintage jewelry boxes-they were so inexpensive,well,I couldn't resist! 
  I started out thinking this would be great for my metal steampunk pieces,alas,my hoard is too great, however,mini chipboard and Masonite bits fit beautifully!
So let me tell you about it....
BTW-photo heavy-grab a cuppa!


 You may notice two different clasps,my first photos were too blurry and I never checked the pics until after I was done creating.
           of course I had another box to sit in for the photo op!
1.Coat entire outside with DecoArt Black Gesso
2.Mix modeling paste,in two parts,with Espresso and Burnt Orange paints
3.Alternating between colors and solid white modeling paste,cover box on all sides,knifing paste through stencils and also random applications of modeling paste with knife. Making sure to overlap and leave texture.


4. After paste has thoroughly dried(overnight) add Crackle Glaze to white modeling paste areas and let dry overnight

5. Apply a watered down version of English Red Oxide Antiquing cream with brush
6. Wipe off areas
7.Repeat steps 5 & 6 several times till desired look is achieved


 8.Apply a coat of Muted Gold mixed with Glazing Medium to entire box,leaving color heavier in some areas
 

Next comes the "fun"part of layering color... after color... after color!
 I kid you not,the colors just kept loading on my brush and dry brushing across the box...
color after color after color... heehee
 
9.Apply layer of Sea Breeze with Glazing medium over entire box,wiping on and off with baby wipe


10. Layer color by drybrushing over box and textures
11. Alternating colors and shades in various areas to give interest
  12.Add Quinacridone Gold with Glazing Medium and wipe back
13. Continue to add more layers of color.

 I would love to be able to tell you which color came when,however,I was so engrossed in the process and paint was everywhere,that,well,I have no idea.
Have a look at my list of colors at the end of my post to see all that were used.
 14. Toward the final layers of color,focusing on the edges,apply Quinacridone Magenta and Venetian Gold

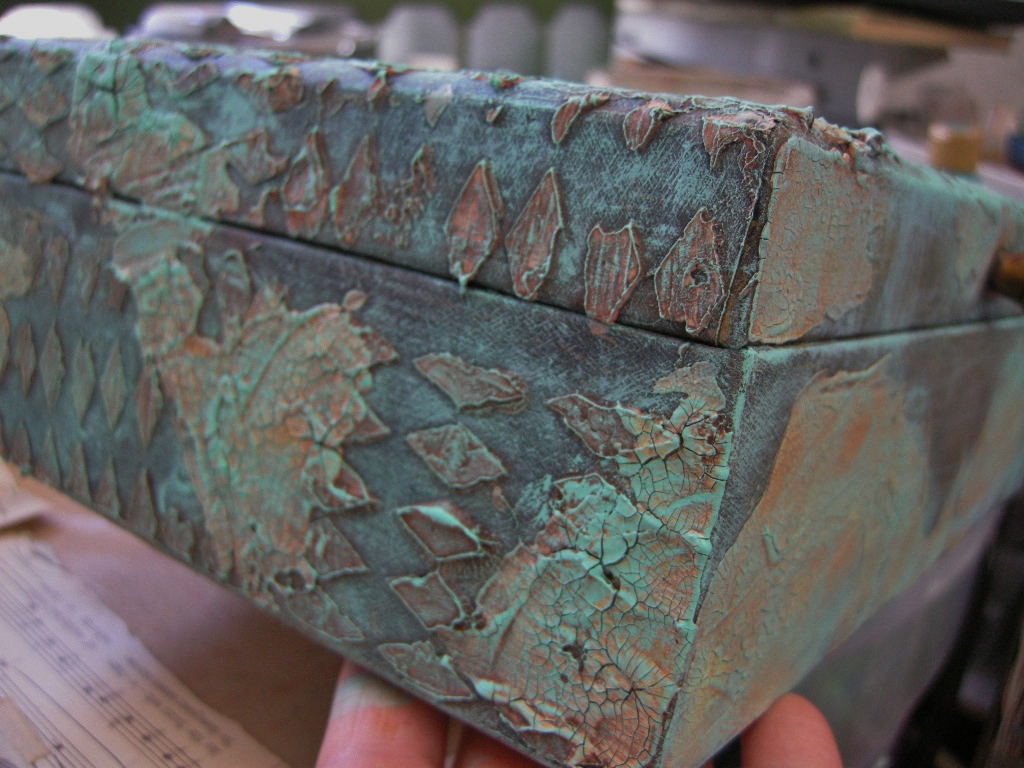
 I love the back~it looks like Raku pottery
 

 Here I changed up the hardware,using pieces from my"Steampunk metal stash aka Hoard"

 15. Coat hardware with Black Gesso
16.Drybrush Cobalt Teal Hue,Dioxazine Purple,Interference Purple & Interference Turquoise
17.When dry,secure hardware to box
18. Coat entire box first with Americana Sealer/Finish Spray
19.Apply Generous coat of Gloss Varnish
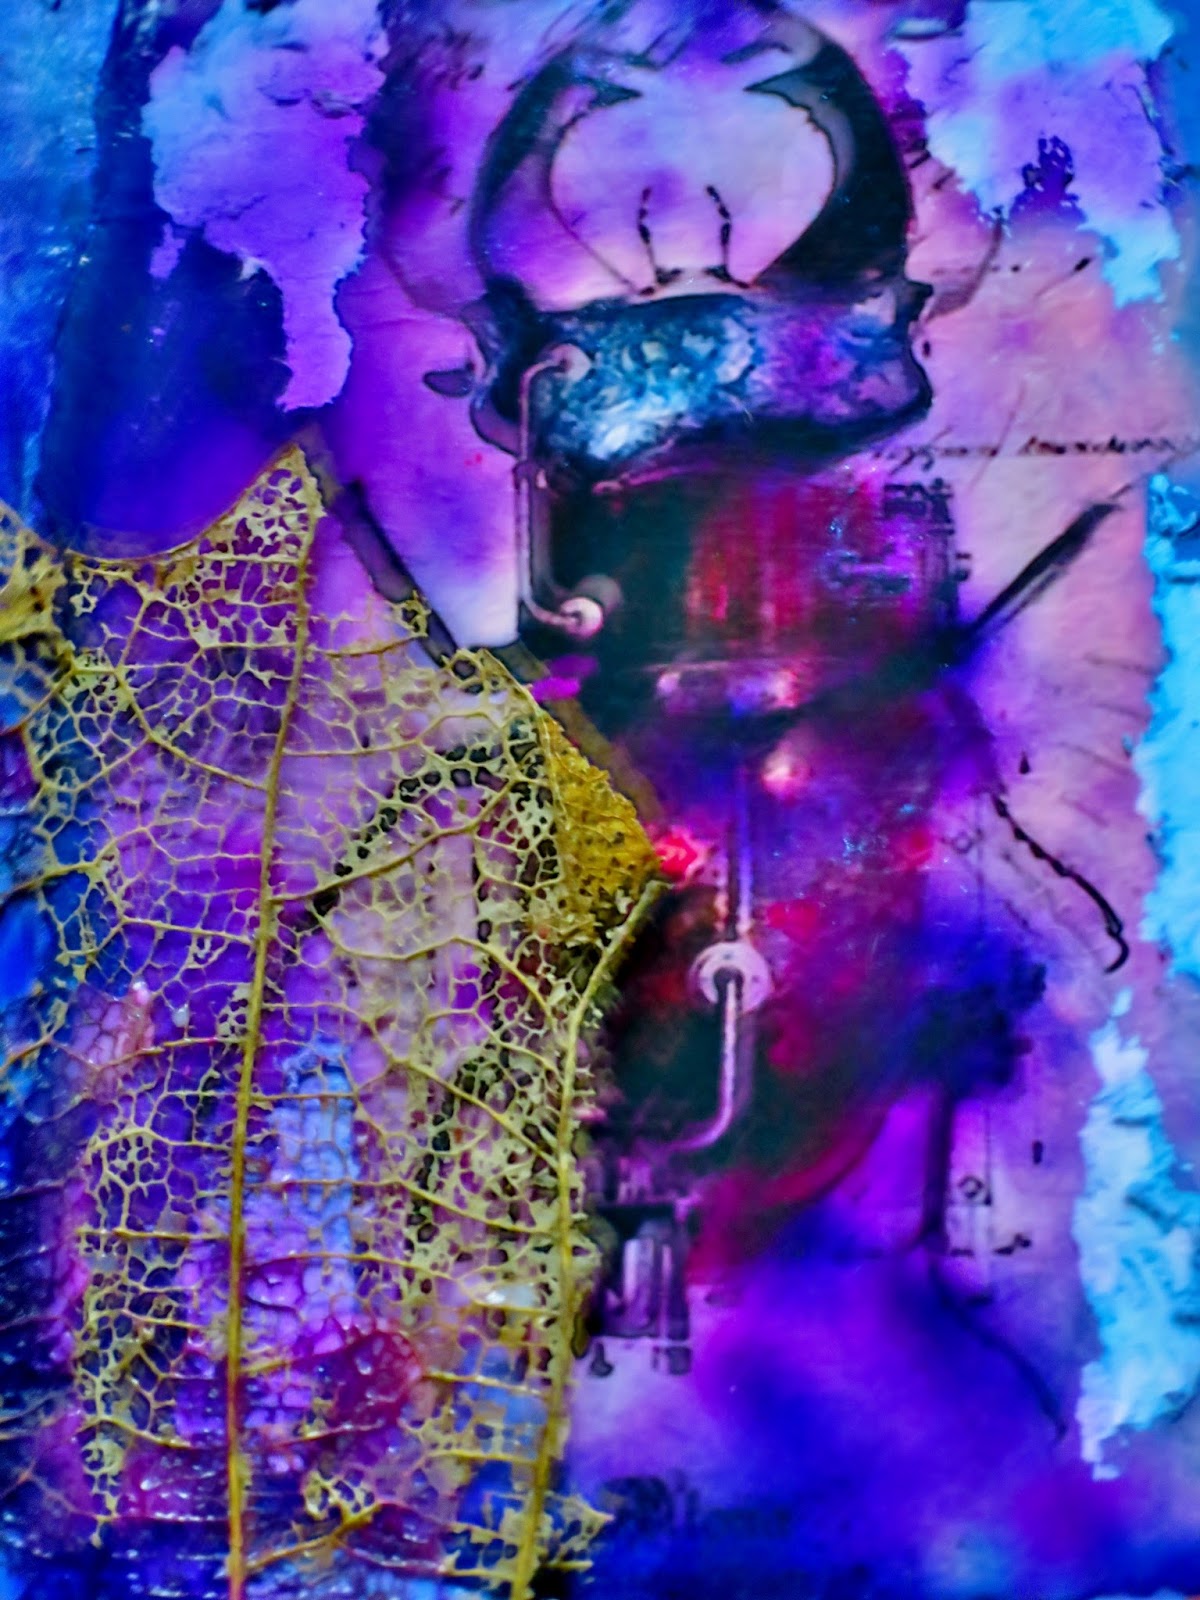
 This part I forgot to mention earlier, while the Modeling Paste was still wet,I push one of my stamps in it...being new to this process,I freaked out at all the paste that was in my stamp and ran and washed it out for fear of ruining it! 
I wish I had used it more first! heehee
 (as you probably know,this process can be done without damage to your stamps!)

 And now we have,my finished stash box,loaded with treasures!
I did spray the inside velvet with a variety of glimmery sprays to continue the flow of color
 Thanks for hanging in there with me and reading till the end! 
 Next up will be the challenges I am entering in and then finally the full DecoArt Paint & Product List.


Today I am linking up with these awesome challenges!
 Please be sure to follow the links to their sites and leave some blog love!!


April Challenge~Trash to Treasure
 
 
 Challenge~Anything Goes

Gypsy Fayer Challenge


April Adventure~Think Outside the Box

Challenge Number#23~Dimension
 

Thanks so very much for your visits and your comments!
 You truly make my world a sunnier place!
Jackie ")


Product List:
DecoArt Paints & Mediums
Americana Acrylics~
Sea Breeze,Burnt Orange,Dioxazine Purple,Espresso,Desert Turquoise,Bluegrass Green
American Multi-Surface Satin~
Muted Gold (favorite color)
 Dazzling Metallics Acrylics~
Venetian Gold
Emperors Gold
Splendid Gold
DecoArt Media Varnish~Gloss
DecoArt Media Gesso~Black
DecoArt Media Modeling Paste
DecoArt Media Fluid Acrylics~
Burnt Umber
Raw Sienna
Burnt Sienna
Cobalt Turquoise Hue
Cobalt Teal Hue
Quinacridone Magenta
Quinacridone Gold
DecoArt Media Antiquing Cream~
Patina Green
English Red Oxide
DecoArt Media Interference~
Magenta
Turquoise
Gold
Americana Acrylic Sealer/Finish~
Gloss

Vintage Jewelry box and hardware

Stencils~The Crafters Workshop
Stamp~Katzelkraft Stamps