Friday, June 27, 2014

Welcome Friday readers!
Yes indeedy- I've been using that AC Pocket Series Steampunk Mini Gears Stencil again!
We have a Wren that visits every year and he is my husband's favorite bird!    Our little chatty Wren has kept residency in a tattered old birdhouse that we glue back together every spring- in time for his arrival- Well, next Spring we'll have a surprise awaiting him...his brand new digs!


   1. Start out with garage sale birdhouse- paint coat of gesso over house
 2.Paint main body of house with favorite color( I choose light Robin egg blue)
 3. Paint the roof shingles- I choose Dina Wakley's ~ Umber mixed with the light Robin egg blue
4. Next I painted the base with Dina Wakley's~ Ruby  paint


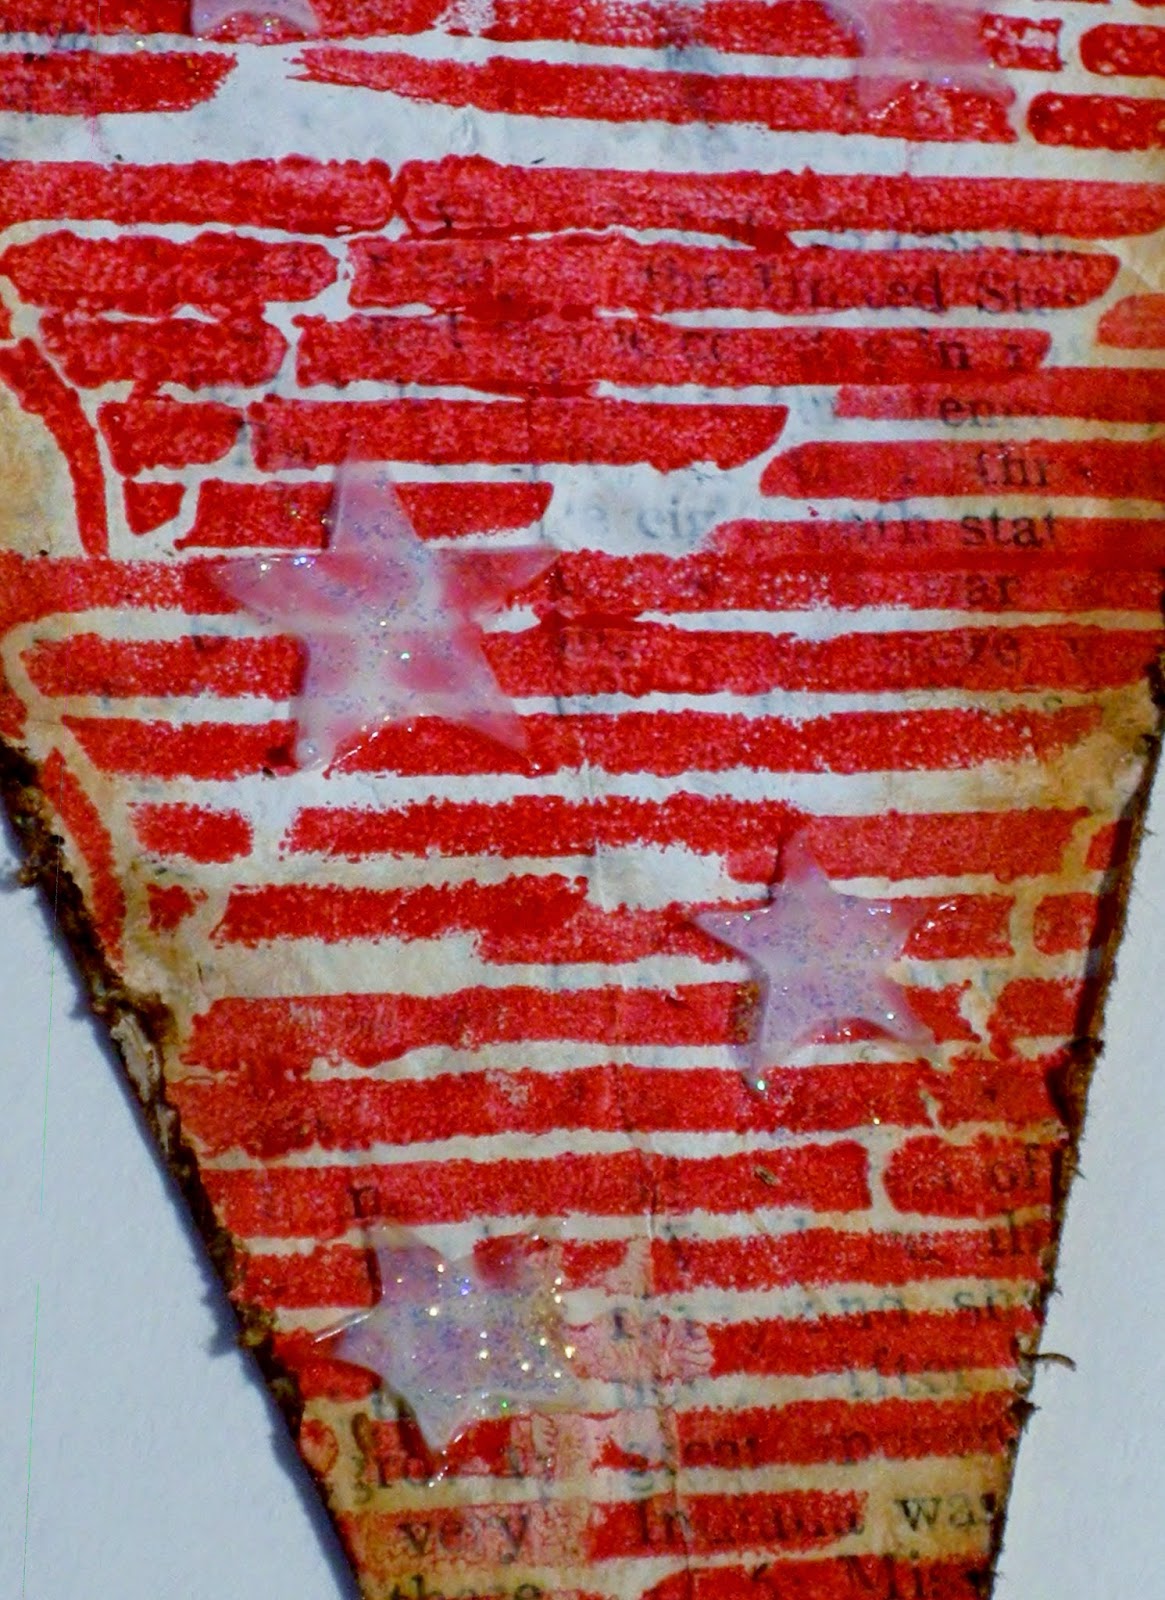
5. On a separate sheet of paper I stenciled with black paint ArtistCellar's Mini Gear stencil - all over- lots of them!  
I then cut the gears out with pinking shears to give them the edgy look!
6. Finally , I glued all of my gears onto all sides of the house using a decoupage medium.
7. Hubby will give the house it's final coat of an outdoor sealer and we'll tuck it away until Spring.

Finished! new digs for 2015 for the Wren family! Steampunk style!


Artistcellar is introducing an Awesome New Marked Stencils...by Lynn Krwczyk
Follow the hop and get inspired and maybe win a new set for yourself- starting tomorrow!

June 28th - Lisa Cousineau - www.artistcellar.com/wp
June 29th - Melanie Testa  - http://melanietesta.com/blog/
July 2nd - Deborah Boschert - http://deborahsjournal.blogspot.com/
July 3rd - Kristin LaFlamme - http://kristinlaflamme.com/musings
July 4th - Ingrid Dijkers - http://ingriddijkers.blogspot.com/
July 5th - Guadalupe Cabal - http://guadasartplace.blogspot.com/
July 6th - Lynn Krawczyk - http://smudgedtextilesstudio.com/blog/

As always, thanks so much for visiting! ")  Jackie

Wednesday, June 25, 2014

Compendium of Curiosities 3 Challenge 5

 Back again for a short post for a challenge I just finished.
    This piece is for CC3C over at Linda Ledbetter's blog:
"Everyone is welcome to participate, but you must work from your personal copy of A Compendium of Curiosities, Vol. 3. We will not be posting technique instructions on our blogs, and our participants must not, either. We require this out of respect and appreciation for all the work that Tim Holtz invested in creating this book. If you don’t have a copy, you can order one directly from Tim, and he’ll autograph it for you!"  
  Therefore no instructions or walk through - sorry "(                        
         but i will list supplies on the bottom ")
Here is my submission-

close up

leaning at a different angle
Frame- found at garage sale
Main 3 figure stamps~ LPC013LynnPerrellaCollectionfromPaperArtsy
Tsukineko Versafine Archival Ink~ Onyx Black
Remnant Rubs- Idea-ology by TimHoltz
Corner/border stamp~ CMS189MercantileStampersAnomymous-Tim Holtz
Ranger /TimHoltzDistress Markers in various colors
Ranger/TimHoltz Distress Marker Spritzer
Ranger/TimHoltz Distress Inks ~ TeaDye,AntiqueLinen,RipePersimmon,VictorianVelvet
Ranger/TimHoltz Distress Stains ~ RipePersimmon,WildHoney,BarnRed
Trim on top IndustriousStickers idea-ology by TimHoltz
PenNibs idea-ology by TimHoltz
Martha Stewart Crafts Microbeads 

 Many of these Tim Holtz  products used can be purchased from 
the family owned and operated online shop Inspiration Emporium 

 Other metal bits and bobs- found pieces and or "borrowed" from my husbands workshop- teehee

                   Linking up with InLinkz Linda Ledbetter-CC3C5 Lucky#13!


Thanks for stopping and I love to hear what you think!  Jackie ")


Friday, June 20, 2014

Layers and Layers and Layers- oH mY!

Thanks for stopping by- here it is Friday already- geesh times flies when one is layering with Artistcellar's stencilsgrin  I have lots of photos to share and explanations along with them- so lets get right this Friday post started !!
photo taken outdoors just before this post

For this week I started with a previously made hardboard substrate-which I really didn't care for-
will call this...Layer 1

Layer 2- After scoring the board and folding in half- I began applying pieces of handmade paper with a matte gel medium   


Layer 3- apply thin coat of Gesso


Layer 4-Lightly brush over Luminarte Silks in Persimmon


Layer 6-Stencil with Weave of Artistcellar's Japanese Geometric Series. Next I added another layer of  paint-Luminarte Silks~Stargazer gently brushed on;as well as a few random stampings in Luminarte Silks-Golden Monarch 

Layer 7 Apply a layer of Ranger/Tim Holtz Distress Crackle Paint Clear Rock Candy - let cure over night
Look at that crackle texture- I love it!

Layer 8  Added (one of my favorites) another layer of stencil -Tortoise of Artistcellar's Japanese Geometric Series
 I used Paper Artsy - Fresco Finish Acrylic Paints~ Mermaid and Vintage Lace
Gorgeous colors!!
I added the frescos here as I needed a more subdued look for where I was headed...
 On a separate piece of rice paper I did a color wash using Paper-Artsy--Fresco-Finish-Acrylic-Paints~Vintage-Lace then stamped out a bunch of images to use on my piece. Then I distressed some edges by tearing and adding Ranger/TimHoltz-Distress Ink-Vintage Photo- to some of the stamped pieces
Rice paper with Fresco wash
  Here is a list of the stamps used:
Butterflies- KaiserCraft
ID05- Ink and the Dog- Paper Artsy
Mercantile CMS189-Stampers Anonymous~Tim Holtz 
 Inks used:
Ranger Archival Ink- Jet Black
 Ranger Archival Ink-Wendy Vecchi-Cornflower Blue
 Ranger Archival Ink-Wendy Vecchi-Hydrangea
Tsukineko- Archival Brilliance-Pearlescent Sky Blue
 Tsukineko-VersaFine-Black Onyx
StampingUp-Brocade Blue-(no link found)

Layer 9  Next I added on my stamped ephemera and other embellishments.
Disclaimer: The butterfly wings are Found in nature objects- No Butterfly was hurt during the creating of the piece of Art! ") 

 Layer 10 - Using a paintbrush I painted on Glossy accents on Tortoise-of Artistcellar's Japanese Geometric Series  to give a bit more height and texture


As you can see, I have added many close-ups- this is because I wanted you to be able to see all the great layers, color and textures happening
                                  ~  The finished piece  ~
photo taken indoors


          Hope to see you again- Jackie")   
                                                                        

Tuesday, June 17, 2014

Art in the yard

      Yes, it's true...I have been lax in posting here on my blog...
Reasons being:
1.Working outside in the gardens and yard with my hubby
2. Working up at our Kamp- cleaning up from last winter's ice storm- blog post soon....
3.It feels like summer and that makes it hard to stay indoors! 
4. oh, I'm sure there's more, but on with today's post...

    Have I been painting? Yes, not in the studio, but out in the yard!  
                         The Girls coop got a makeover !
    When we moved here last year little shed out back was this nasty olive green.
      Hub reworked the inside of the shed- with found pieces from Craig'sList and roadside treasures! GO GREEN!
Inside the shed-the coop is through the door 

step plank to the play yard
     I love this trap door- for the Girls to go in and out to the yard and it has a pull rope that we can work from inside the shed
Nesting boxes scored from Craigslist-seen through viewing picture window
     After hub renovated the inside of the shed into the Girls new home, it was decided a bit of an outdoor makeover was needed too!

   We went back and forth on paint colors, because I really did not want to go traditional farm colors. But the other color samples I put on the shed just were not doing it for us! I really was attracted to the inside red walls hub used for building- we got these from a  Mr.Seconds that was going out of business, great already painted construction grade outdoor plywood sheets-5 bucks each! Score!
    So the perfect RED search was on- just the right red needed for POP but not POW! Well, HAUTE RED is the color and we got both the POP and the POW- but it really works for us! 
As seen from across the small garden
                                     Now for the close-ups

ugly green- pretty new red
the outdoor yard has plenty of shaded area as well as roosting branches and ladder
 

     I went to my stash of yard junk and painted some pieces up gloss white for decor and went with gloss black on the outdoor bench- looks more modern to us.  I still have one more thing to paint on the left wall- will show when done. I planted Morning Glory seeds in bright purple and blue under that white trellis.You can just see the tops popping.
                                 And what do the Girls think...
Our outside entry
The brown girl is Emmie-she is soo beautiful! but they all are!
Logan- the Rooster
Remi- she likes me to hold her the best!

Selfie!!!  
Photo Bomb!!
This is my best side! 

Just one more-I think this is really my best side!

     From what I can tell- the Girls love their digs!! Recently, hub has put 2 old tractor seats from his stash in the play yard and the Girls sit on them two at a time! it's so stinkin cute! I will try and get a photo; although it's harder now because when we come out they run to the gate, hoping for some free range time or for watermelon rinds!! Funny Girls!!

    Thanks for joining me today- hope you got a giggle or an awe, aren't they sweet!  ") Jackie

  
isn't she sweet!-the chicken that is!  


                                                (oh yeah,-early morning and only first cuppa!)


Friday, June 13, 2014

Flag Day Banner~Steampunk Style


    Saturday the 14th is Flag Day- so in honor of that- I thought, hey! time for more garden/deck art- Steampunk style!

   What not a better way to go than with Artistcellar's new and may I say-Way Cool- Mini Steampunk Pocket Stencils!

   (yeah, I know this is on the wall inside, but it was pouring out when it was time for photos!)

This is how is how it all began... 
                           I used manilla envelope paper for my substrate
 (found a big pile of it at a garage sale in the free bin! SCORE!)
                                First-a quick coat of gesso 
 Next applied with matte gel medium were strips of pages from a 1926 Groiler World Book Of Knowledge-another garage sale find!
      I used sections of the book from the history of the United States-especially those referring to New York and the Eastern part of the US-just saying...
 Note: I originally scanned the pages into my computer and printed them out to use instead of the originals- as you can see from the above photo- the pages bled and really did not work as well as I expected- so I used all the originals-
                                            Another coat of gesso applied
   then a piece of crumpled tissue paper blotted off the excess gesso.

                        Once dry, I cut my flag banner shapes
 then I sponged Dina Wakley Media Heavy Body Acrylic Paint - Lapis with a makeup sponge. 
 After this was dry,I stenciled using the Mini Steampunk Mini Gears in using FolkArt~ Wicker White. These Steampunk Mini Gears made up my steampunk "stars" portion of my design.

                                      oops! missing photo

  Next, I used the Mini Steampunk Deco Wing Pocket stencil along with Paper Artsy - Fresco Finish Acrylic Paints - London Bus -these made up my stripes portion of my design.
  I flipped the Deco Wing back and forth to make my stripes- making sure to use the whole wing when I could- I love this stencil!
I'm really digging this,but am thinking it needs distressing- so I scuffed up all the edges, and then used - Tim Holtz/Ranger - Distress Ink Pads - Vintage Photo to give it that aged look.

     Now I wanted a bit of texture- so here I used 
Wendy Vecchi Embossing Paste-Translucent and palette knifed random stars on each flag,using RetroArts Cafe' Small-Falling-Star-stencil
   After this was dry, out came the Ranger-Stickles Glitter Glue~ Diamond Dust which I brushed over the edge's that were raised-this of course was applied with my fingers! 
                        (one of the best tools available! teehee)
   To finish-I added a few grommets and jump-rings along the tops of the flags and strung them on some twine with some beads and knots. Also added was a bitty star hanging off a jump-ring on the point of each flag.

                  
as always- thanks so much stopping and if you feel inclined to leave a comment...I'd be delighted! Jackie ")