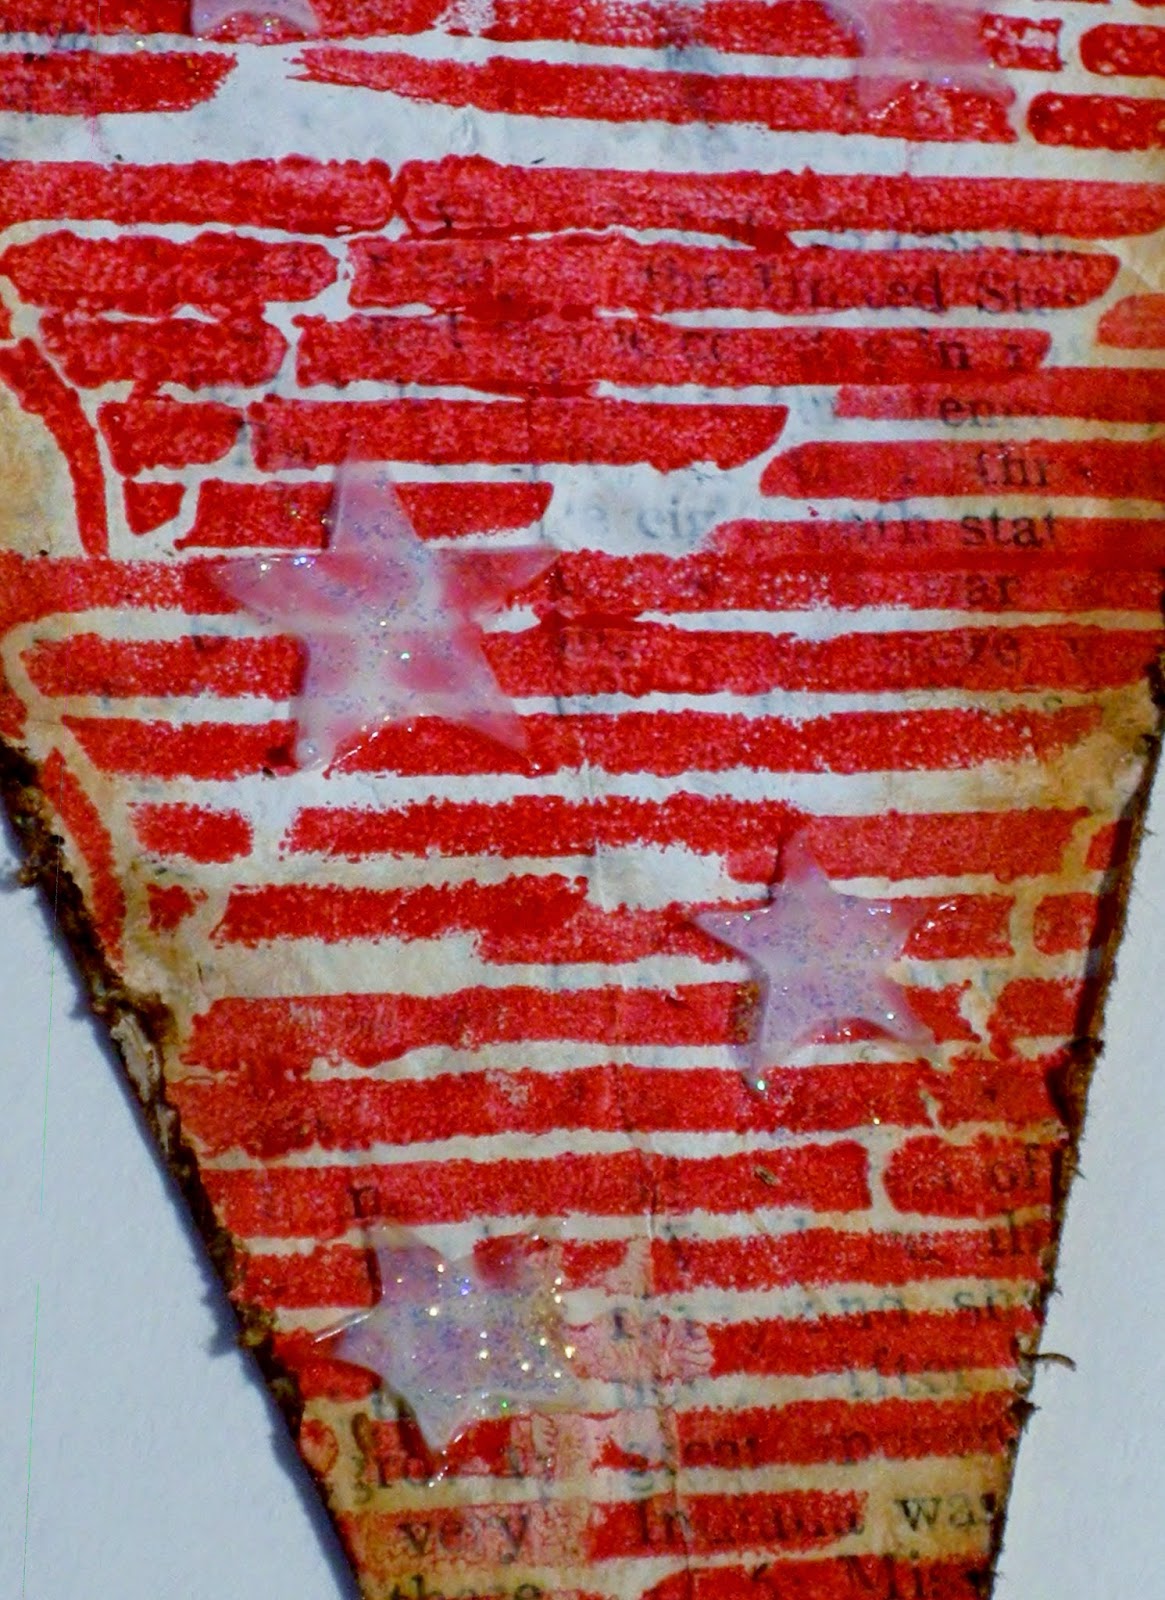
Saturday the 14th is Flag Day- so in honor of that- I thought, hey! time for more garden/deck art- Steampunk style!
What not a better way to go than with Artistcellar's new and may I say-Way Cool- Mini Steampunk Pocket Stencils!

(yeah, I know this is on the wall inside, but it was pouring out when it was time for photos!)
This is how is how it all began...
I used manilla envelope paper for my substrate
(found a big pile of it at a garage sale in the free bin! SCORE!)
First-a quick coat of gesso
Next applied with matte gel medium were strips of pages from a 1926 Groiler World Book Of Knowledge-another garage sale find!
I used sections of the book from the history of the United States-especially those referring to New York and the Eastern part of the US-just saying...
Note: I originally scanned the pages into my computer and printed them out to use instead of the originals- as you can see from the above photo- the pages bled and really did not work as well as I expected- so I used all the originals-
Another coat of gesso applied
then a piece of crumpled tissue paper blotted off the excess gesso.
Once dry, I cut my flag banner shapes
then I sponged Dina Wakley Media Heavy Body Acrylic Paint - Lapis with a makeup sponge.
After this was dry,I stenciled using the Mini Steampunk Mini Gears in using FolkArt~ Wicker White. These Steampunk Mini Gears made up my steampunk "stars" portion of my design.
oops! missing photo
Next, I used the Mini Steampunk Deco Wing Pocket stencil along with Paper Artsy - Fresco Finish Acrylic Paints - London Bus -these made up my stripes portion of my design.
I flipped the Deco Wing back and forth to make my stripes- making sure to use the whole wing when I could- I love this stencil!
I'm really digging this,but am thinking it needs distressing- so I scuffed up all the edges, and then used - Tim Holtz/Ranger - Distress Ink Pads - Vintage Photo to give it that aged look.
Now I wanted a bit of texture- so here I used
Wendy Vecchi Embossing Paste-Translucent and palette knifed random stars on each flag,using RetroArts Cafe' Small-Falling-Star-stencil.
After this was dry, out came the Ranger-Stickles Glitter Glue~ Diamond Dust which I brushed over the edge's that were raised-this of course was applied with my fingers!
(one of the best tools available! teehee)
To finish-I added a few grommets and jump-rings along the tops of the flags and strung them on some twine with some beads and knots. Also added was a bitty star hanging off a jump-ring on the point of each flag.
as always- thanks so much stopping and if you feel inclined to leave a comment...I'd be delighted! Jackie ")


12 comments:
Very cool Jackie, love the flags!, great work!
Hugs Marilou
This is so cool, especially after seeing the details of your process and how well thought out it was.
Jackie I love your flags and the way you used the stencils, the wings for the stripes, gorgeous idea!
I always like to see the process and I love that you chose history pages for underneath-even if you don't see them in the end, you know they are there. Nicely done and I love the little star dangle at the bottom.
Perfect banner. Love the little stars hanging at the bottom! xox
Love the flags and the star on the tip good job ,Joe
These are wonderful. I would have never thought to use the stencils that way. As always thanks for the inspiration.
Super funky banner - love the dangling stars!
Oh this is so darling!
I love the rustic look of these flags you are just too clever missy lol...
These look terrific! I like to use relevant text too, even if I end up slathering it with paint and only I know what it says! Those stars are just the perfect finishing touch! xxx
PINNED!!! Love this fun and quirky patriotic banner!
Post a Comment