Friday, June 13, 2014

Flag Day Banner~Steampunk Style


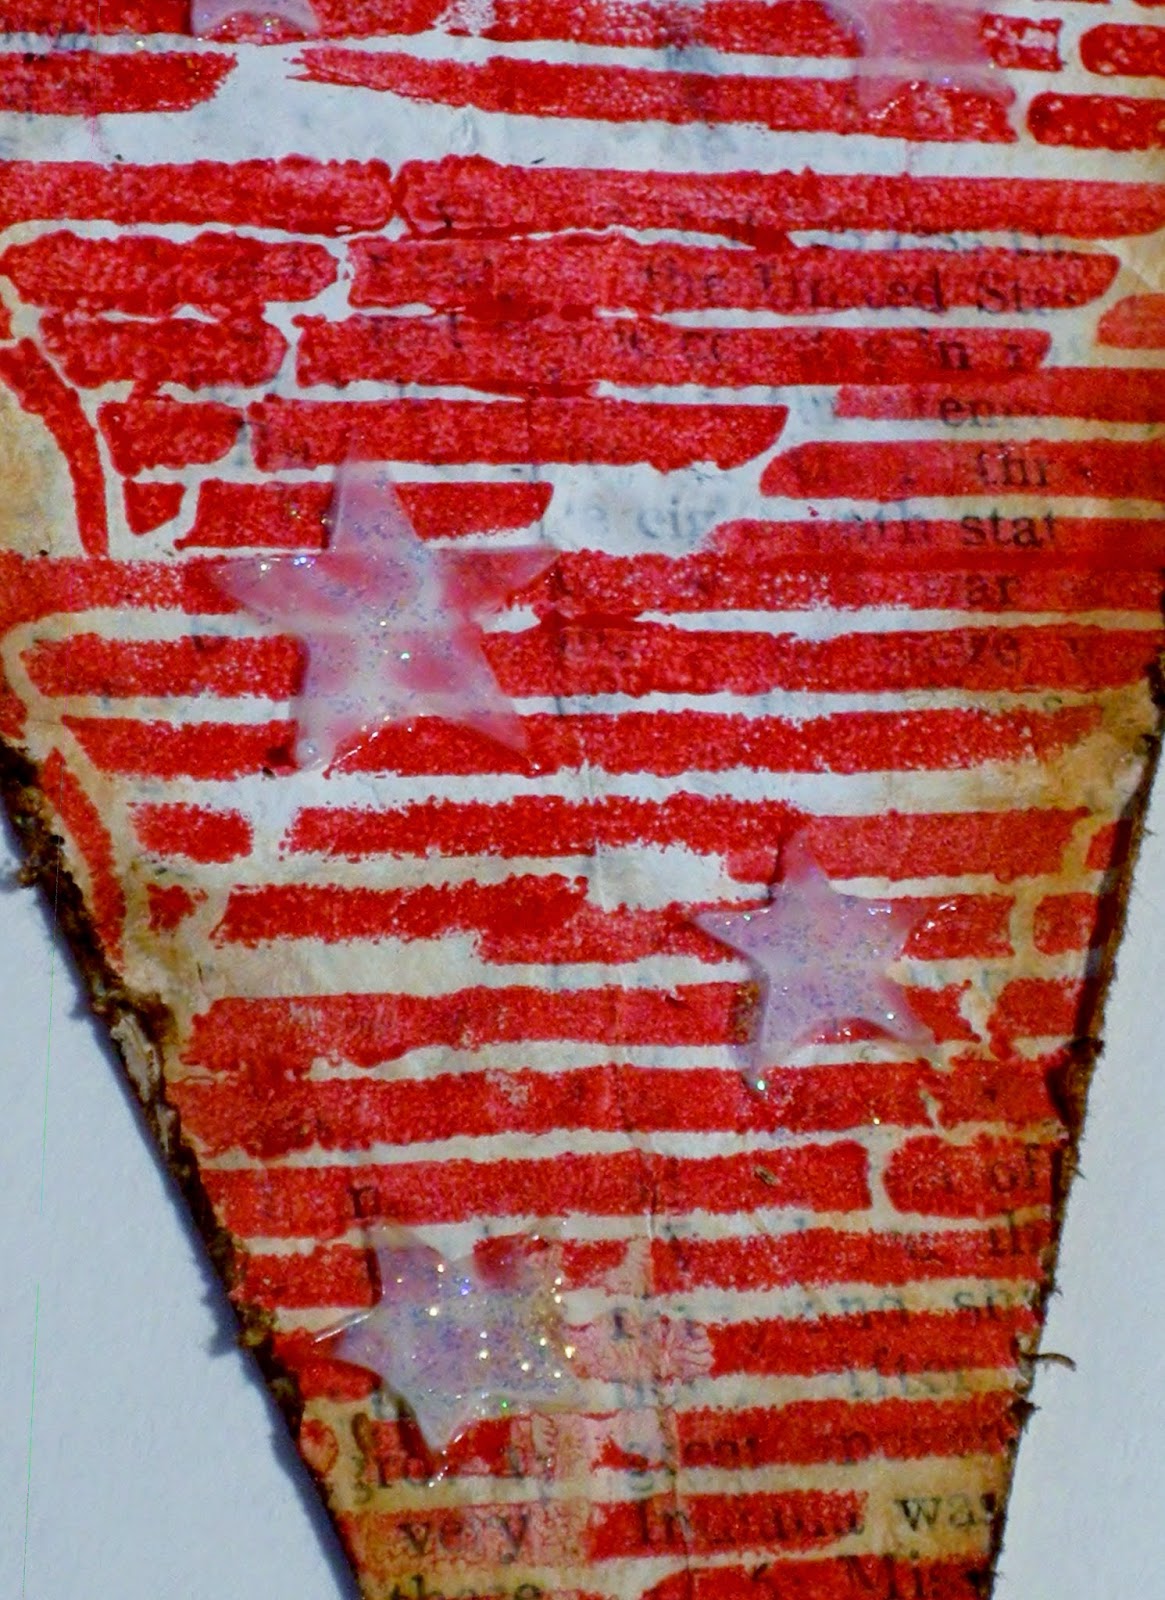
    Saturday the 14th is Flag Day- so in honor of that- I thought, hey! time for more garden/deck art- Steampunk style!

   What not a better way to go than with Artistcellar's new and may I say-Way Cool- Mini Steampunk Pocket Stencils!

   (yeah, I know this is on the wall inside, but it was pouring out when it was time for photos!)

This is how is how it all began... 
                           I used manilla envelope paper for my substrate
 (found a big pile of it at a garage sale in the free bin! SCORE!)
                                First-a quick coat of gesso 
 Next applied with matte gel medium were strips of pages from a 1926 Groiler World Book Of Knowledge-another garage sale find!
      I used sections of the book from the history of the United States-especially those referring to New York and the Eastern part of the US-just saying...
 Note: I originally scanned the pages into my computer and printed them out to use instead of the originals- as you can see from the above photo- the pages bled and really did not work as well as I expected- so I used all the originals-
                                            Another coat of gesso applied
   then a piece of crumpled tissue paper blotted off the excess gesso.

                        Once dry, I cut my flag banner shapes
 then I sponged Dina Wakley Media Heavy Body Acrylic Paint - Lapis with a makeup sponge. 
 After this was dry,I stenciled using the Mini Steampunk Mini Gears in using FolkArt~ Wicker White. These Steampunk Mini Gears made up my steampunk "stars" portion of my design.

                                      oops! missing photo

  Next, I used the Mini Steampunk Deco Wing Pocket stencil along with Paper Artsy - Fresco Finish Acrylic Paints - London Bus -these made up my stripes portion of my design.
  I flipped the Deco Wing back and forth to make my stripes- making sure to use the whole wing when I could- I love this stencil!
I'm really digging this,but am thinking it needs distressing- so I scuffed up all the edges, and then used - Tim Holtz/Ranger - Distress Ink Pads - Vintage Photo to give it that aged look.

     Now I wanted a bit of texture- so here I used 
Wendy Vecchi Embossing Paste-Translucent and palette knifed random stars on each flag,using RetroArts Cafe' Small-Falling-Star-stencil. 
   After this was dry, out came the Ranger-Stickles Glitter Glue~ Diamond Dust which I brushed over the edge's that were raised-this of course was applied with my fingers! 
                        (one of the best tools available! teehee)
   To finish-I added a few grommets and jump-rings along the tops of the flags and strung them on some twine with some beads and knots. Also added was a bitty star hanging off a jump-ring on the point of each flag.

                  
as always- thanks so much stopping and if you feel inclined to leave a comment...I'd be delighted! Jackie ")

Thursday, June 12, 2014

Repost for Buried Treasure Project by Seth Apter

                                    
       Thanks for stopping by- today's post is a redo of one of my favorite past blogposts.  Hey! don't click next just yet, keep reading a bit more...
            Why-would you repost you ask? well, let me tell you...
  In 2009 the awesome Seth Apter ~ The Altered Page started his really cool online Buried Treasure Project. 
        (that's the 6th annual,in case you didn't do the math! teehee)

      Read all about it here- in Seth's own words...
"Welcome to Buried Treasure: an online, collaborative project that invites art bloggers to go into the depths of their blogs and dig for buried treasure. Each participant was asked to repost one (or more) or their favorite posts from their own blog. There are so many brilliant artists out there but so little time to explore all their work fully. This gives us all an opportunity to see highlights from posts we may have missed from so many of our favorite bloggers!"

    Make sure you stop on over to Seth's blog~ The Altered Page and discover Seth, (if you haven't already) as well as a host of other wonderful Artists/Bloggers!  I am sure you will pick up one or two more great blogs to follow and or super artful eye candy for inspiration!! 
 
  A HUGE - Thank you! to Seth  for creating such a cool online sharing project!

 and now, on to my Buried Treasure post....

          Found ~ Mixed Media Treasure Box

          Friday's girl, Jackie here, with my weekly post for Artistcellar

        Here it is Friday once again! And can you believe it? A new set of stencils to play with- Artistcellar’s~The Quasi Crystal Series!
For my piece I created, titled “Found” , featured are Fibo & Infra; two out of the four new Quasi Crystal stencils.
  To begin with, I used a round box which I covered in black gesso. When the gesso was dry, I added an all over coat of StewartGill Byzantia~Agean. Once that was dry it was time for the first stencil layer- I used the Fibo first- I love this one- it reminds me of that computer game called Wiggles-have you ever played it?  Sorry about that, a bit off track there…for Fibo,  I pounced StewartGill MetaMica~Meadowgrass around the box and lid as well as on top of the lid.
step 1
 Next I scuffed up the top, using a small wire brush. Then I made a very thin glaze using LuminarteSilk~Plumeria  which I glazed over the top of the lid only.
roughing up
And then, it was on to Infra! What a fun stencil! I could stencil these  little popdots all over! Which I did, all over the lid of the box that is. For this I again used LuminarteSilk~Plumeria . I also applied the Infra stencil around the sides of the box (not full coverage). Then to age/distress it all a bit, I took my handy-dandy baby wipe and swiped here and there and wo-la! A touch of VivaInkaGold~Orange around the edge.
     The last thing to do was add my embellishments and final touches… 
I used older stash items- such as these metal flower pieces from Graphics 45 (I don't think they are available any longer). So, what I did was, I had previously rusted a these metal flowers and just added a bit of color to each ascending petal. The colors I used were BaroqueArt-GildersPaste~Patina , Rub'nBuff~GoldLeaf and InkaGold~Orange  I kept most of the rust and just added hints of the colors. I attached all of the flowers as well as the acorn cap with a piece of wire that went down through the lid of the box.


This is what my table looks like while deciding what to do next...You see I had a whole other vignette' picked out to go atop the box- , but changed my mind mid attachment-fickle artist!

 Inside the lid I adhered a poof of fabric(to give the Tufted look) and then covered it all with another piece of silk.
 The rest of the embellishments included the round cracked piece of glass,(found on a walk one day) and natural lichen,acorn top, and seashells- all of which came in that lovely package my sissy sent me a few weeks ago..thank you Julie- I love you! (Tim too!)

                                         Jackie ")

Friday, June 6, 2014

Mini Virtues

     Everybody's working for the weekend! hmm... sounds like a song-
                                   Hello and Happy Friday!
Artistcellar has been at it again with NEW Mini Pocket Stencils!
For today's post I chose to create with the MINI VIRTUES Stencil Set.   
     Let's get right to it! By the way, you get to see the good and the bad today...As for my usual, I began with one idea and...well...

 To start, I used these 4 coasters I had in my stash, and covered them with some scrapbook papers.

From there I went on to stamping, embossing and coloring in on each coaster...
 Next came the new Mini Virtue Stencils! I mixed up some modeling paste with some Titan Buff paint and layered through the stencil. 
 Is this where my camera battery died? Sorry- there are no in process photos-argh!
So, when the words dried, out came the pens and...hang on it gets really ugly here! 
   I don't know what I was thinking because- black and white pens were not working for me!! (come to think of it, neither was that red coaster!)

Then I thought,hmm,apply a glaze of Quin Azo to make the whole piece cohesive...looked nice- but the pens still weren't working, so after several different blips and blunders...


     Decidedly, what was really going to work- were new stenciled words...this time using Wendy Vecchi's Clear Embossing Paste(faster drying) with gold paint mixed in and then carefully palette knifed through the Virtue mini stencils onto new coordinating paper.
   After the paste had dried, I outlined the words with Dr.Ph.Martin's BombayIndiaInk~VanDyke Brown on the shadowed side of the letters; then gently tore around all of the words. 
I used Ranger/Tim Holtz Distress Ink~Vintage Photo on my mat with water to age the papers, then again the same Vintage Photo Distress Ink applied directly to the edges of the torn papers for more aged appearance. Each word was then glued over the existing words with matte gel and a final coat of matte gel was applied to the whole piece.
                            Where did the red coaster go?   
Ahh~yes,the red coaster~One of these things is not like the others... can you guess by the time I finish my song!  
Around 11:30pm, I said to myself, that red one isn't working, so...

                      What I now have is a lovely matching set of 4!
       Thanks for coming along on my bumpy journey today! 
                Jackie ")