the Journey awakens the Soul...

The Vintage Journey's Blog challenge for July is for using Dies and Distressing- in the Tim Holtz influence.
Since I dig Tim Holtz, I love distressing and I just got my first die! I thought I would play along!.
The main requirement of any of Vintage Journey's challenges is that your piece is Tim Holtz inspired.
Let's get to it...
For my substrate, I used the thin card that comes inside of the Tim Holtz Layering Stencils- I used this because it really had a nice pattern on it and if you know me, I love to re-use, recycle, upcycle, ect!
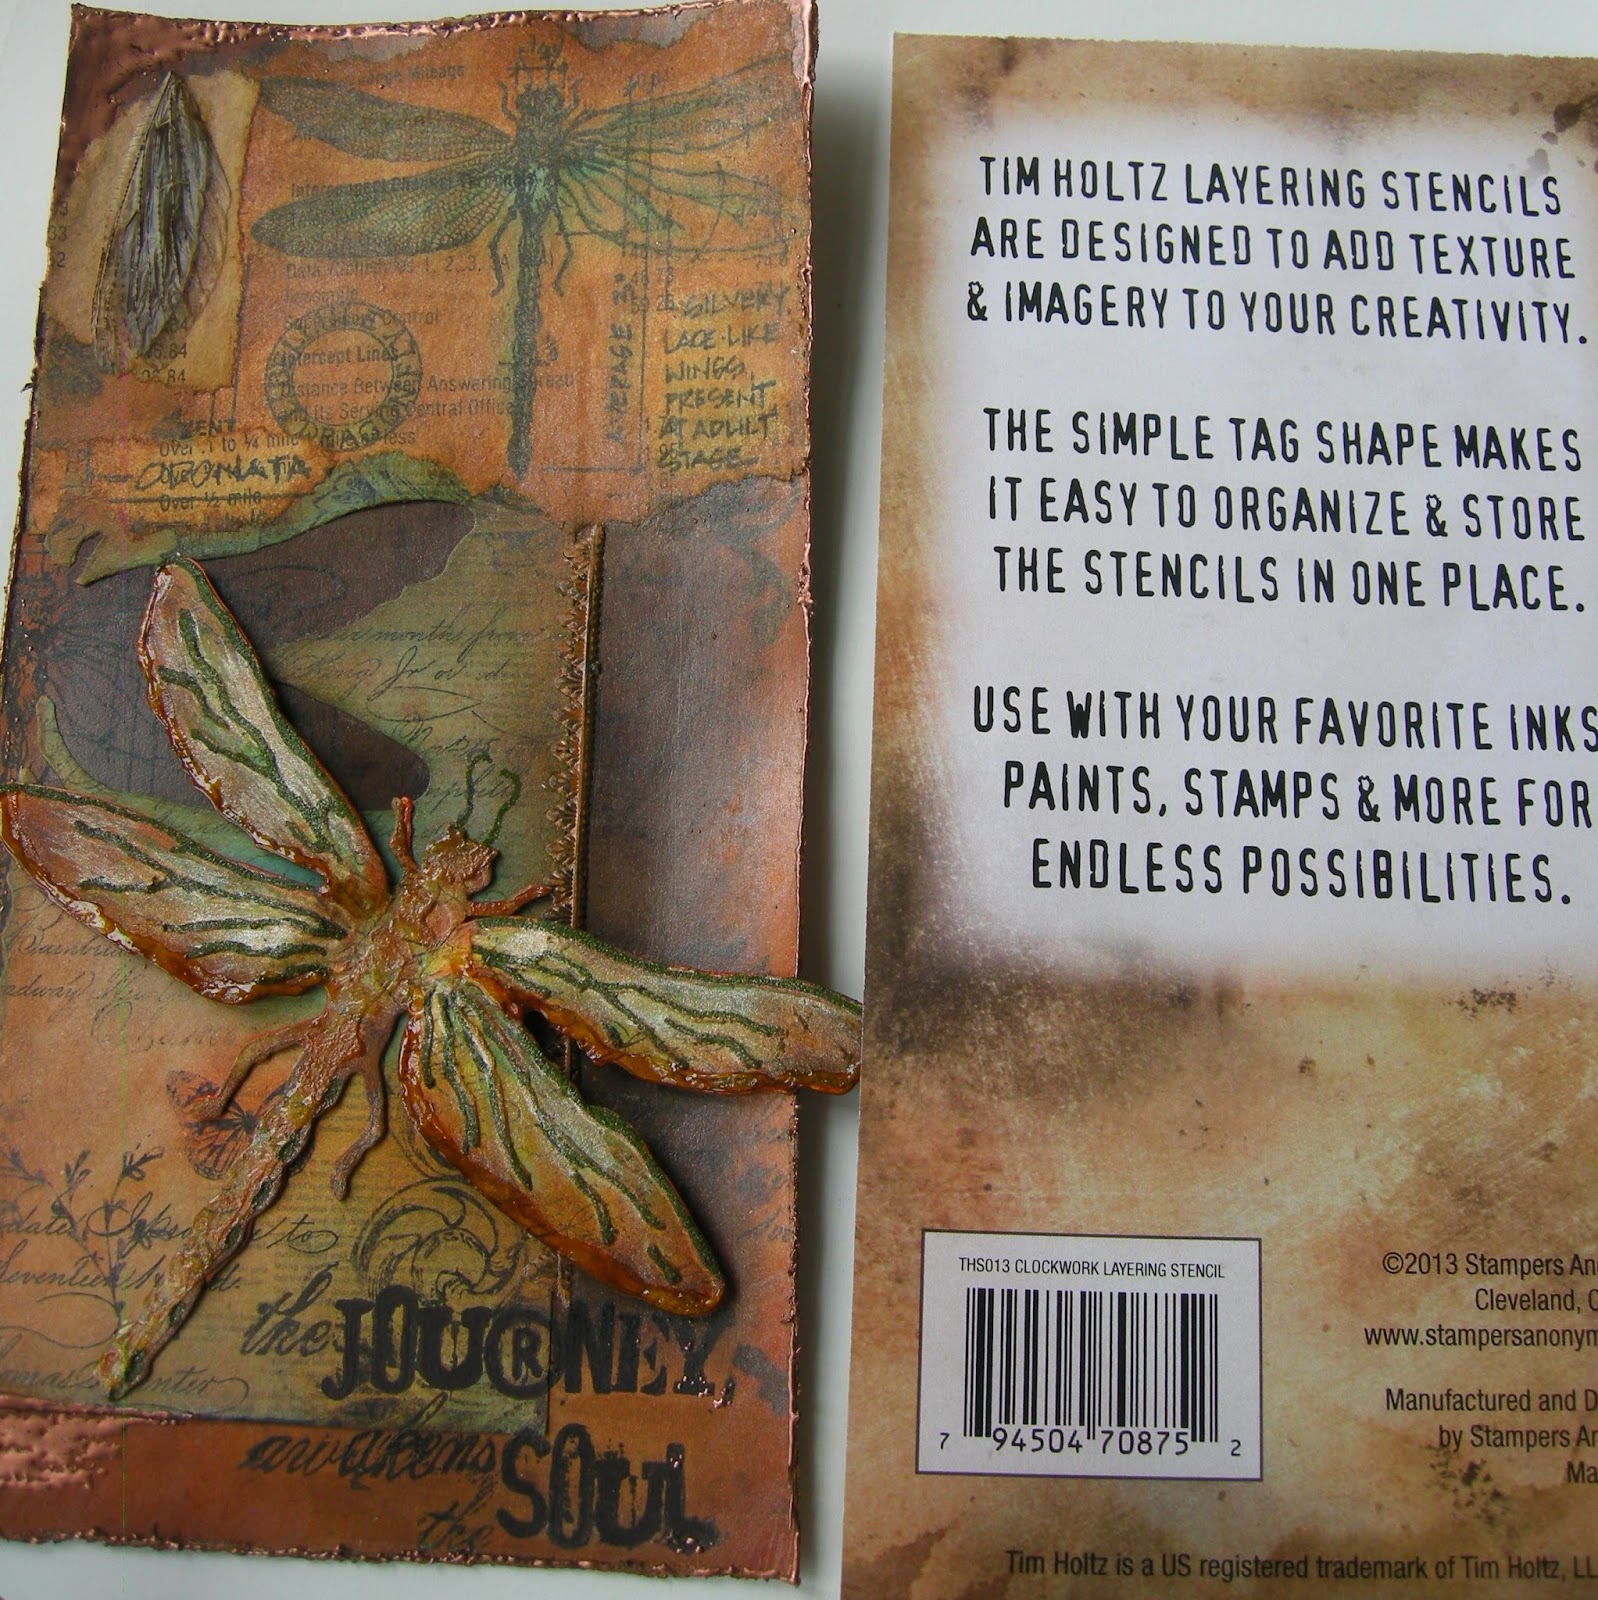
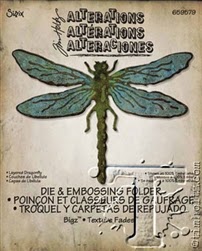
 My main ingredients used were Tim's-Sizzix-Alterations Die&Embossing Folder~Layered Dragonfly , and Ranger/Tim Holtz -Stampers Anonmynous~Classics #1.
Other products used are listed below
To begin,I stamped vintage text across the card paper as well as added a few scrolls (which are now covered)
For the die, I cut the dragonfly from a patterned paper and then ran it through the embosser.
 On the left hand side of my card,I stamped the Classic's#1 Odonata~Dragonfly,stamping it off the page,only using the right side of it.
Next, I placed the right side of the cut paper over the stamped image and glued it in place.
(I really wish I taken in process photos!! Battery was dead! ARGH!)

Again,using the same dragonfly stamp, I stamped the whole image on a vintage piece of newspaper- then colored it in with distress markers. Gently, I tore off the edges and glued down most of the main image as well as the word -ODONATA
(from the stamp- which is the scientific name for Dragonflies)

 For the previously die-cut dragonfly, I colored it, using Distress Markers. After that I added Distressed Embossing Powder~Peeled Paint,to the veins of the dragonfly,as well as for the antenna.
For the distressing with inks, I used the Broken China toward the center of my subjects and the Rusty Hinge and Vintage Photo toward the edges.
In the next photo,here,I added a bit of Glossy Accents to the wing's edges and also used it to adhere the "found wing" at the top of my substrate.
disclaimer-(No insects were hurt during this creation- the wing was found in Nature) ")
 Around the edges of the card, I first distressed them using Ranger/Tim Holtz'z Distressing tool.Then, I edged with Antique Bronze before I used the Ultra Thick Embossing Enamel in Bronze to give a bit more of a finished look.
 And finally I stamped Tim Holtz' stamp~
"The Journey Awakens the Soul" on the right hand bottom corner.


Stampers Anonymous Classics#1

Thanks so much for stopping by - I always love to see you have been here and love to hear what you have to say!!
Jackie ")
Linking up to
Vintage Journey Challenge Blog-Dies&Distress #48
I am also linking up to
Simon Says Stamp Wednesday challenge-Emboss It! #33
Pretty sure I have both challenges covered! teehee
The Vintage Journey's Blog challenge for July is for using Dies and Distressing- in the Tim Holtz influence.
Since I dig Tim Holtz, I love distressing and I just got my first die! I thought I would play along!.
The main requirement of any of Vintage Journey's challenges is that your piece is Tim Holtz inspired.
Let's get to it...
For my substrate, I used the thin card that comes inside of the Tim Holtz Layering Stencils- I used this because it really had a nice pattern on it and if you know me, I love to re-use, recycle, upcycle, ect!
Other products used are listed below
To begin,I stamped vintage text across the card paper as well as added a few scrolls (which are now covered)
For the die, I cut the dragonfly from a patterned paper and then ran it through the embosser.
Next, I placed the right side of the cut paper over the stamped image and glued it in place.
(I really wish I taken in process photos!! Battery was dead! ARGH!)
(from the stamp- which is the scientific name for Dragonflies)
For the distressing with inks, I used the Broken China toward the center of my subjects and the Rusty Hinge and Vintage Photo toward the edges.
In the next photo,here,I added a bit of Glossy Accents to the wing's edges and also used it to adhere the "found wing" at the top of my substrate.
disclaimer-(No insects were hurt during this creation- the wing was found in Nature) ")
"The Journey Awakens the Soul" on the right hand bottom corner.
As you can see from my worktable, there is a pile of products I used on this piece. I will try and put them all in with links- if I missed something you would like to know about, please ask! ")
Broken China
Ripe Persimmon
Rusty Hinge
Vintage Photo
Peacock Feathers
Bundled Sage
Evergreen Bough
Mowed Lawn
Salty Ocean
Ranger/InkEssentials Embossing Pen~ Black
Tim Holtz "Journey"Stamp is from an older set which I do not know the name of- sorry"(
(to the best of my knowledge the above is now owned by Ranger-mine is pretty old! )
and
Stampers Anonymous Classics#1
Thanks so much for stopping by - I always love to see you have been here and love to hear what you have to say!!
Jackie ")
Linking up to
Vintage Journey Challenge Blog-Dies&Distress #48
I am also linking up to
Simon Says Stamp Wednesday challenge-Emboss It! #33
Pretty sure I have both challenges covered! teehee
27 comments:
Jackie beautiful earthy tones love how you have put this piece of art together xoxo
Wow Jackie, this is fabulous!!! I love that you upcycled the packaging too. You are a natural at Tim's style. :)
I love the earth tones that you used too! So many textures, it turned out beautiful.
Cool that you even incorporated the packaging. The heavy embossing enamel is some fabulous stuff. I read your directions and still I don't think I could come up with the creative results you do. Tim Holtz should be impressed that his products are being used like this. Great!
this looks divine! thanks for the steps you showed. and i will always love this dragonfly classic (designed by michelle ward btw, i think she does not get enough credits from stampers anonymous...). the embossing is such a great touch!
This is beautiful Jackie! I love dragonflies and you've really captured their unique details.
I love it Jackie, beautifully distressed and that idea of using a real wing, wow! By the way the dragonfly die is the next on my wish list ;-)
This is absolutely gorgeous, Jackie - brilliant dies and distressing! The colours are wonderful, so rich and earthy, and the dragonflies look so lovely. Thanks so much for joining us on A Vintage Journey.
Alison x
Love your vintage color palette, Jackie (my favorite!). I am also a re-user of anything I can, so appreciate your using the TH card from the stencils! Beautifully choreographed, my friend!
It's beautiful, Jackie!
Jackie this looks totally brilliant!! I absolutely love the background to your piece, such clever re-cycling, and what you did with the dragon flies, both the stamped and the die cut one, is wonderful too! Love this piece and thanks so much for adding it to our challenge at A Vintage Journey!
That's just delicious, and the real wing is a lovely touch, Jackie!
Lovely, dragonflies are all about transformation too! xox
Love, love the look of this! Great vintage and distressing! I love dragonflies and that stamp is on my wish list! Love your creativity! Super job!
Oh my GOSH! This is utterly beautiful!
A georgeous creation Jackie!
xxx
Susi
Oh what a wonderful dragonfly, I love th earth tones,and the embossing,this its absolutly Amazing creation, Jackie :-)
XXX Jeannette
This is such a fab, Tim inspired project, Jackie. The dragon fly die is beautiful - certainly one for the wish list. I love the colours you chose for this too and - of course - the upcycling of the packaging. A lovely piece of work! Julie Ann xxx
Boy what wonderful comments ,not surprised this rocks...love your method and the outcome well, that fabulous dragonfly looks like it came straight from an Egyptian tomb ,fanbloodytastic ....
What a great journey you've taken us on with your super closeups and nice description of what all went into your creation Jackie.
The found wings are the perfect touch and I have that dragonfly stamp wooden mounted from long ago...thank you for the inspiration!
oxo
This is fabulous, my friend!
How beautiful! Love what you did with the d'fly and your gorgeous background.
Oh my dear Jackie I love this piece and dragonflys are my favs. In the summer they come out and help me mow the backyard and do their little dance around me. Your instructions are great. Will have to see if I can find one of the stamps. Love it . xoxoox
Wow, that's a lot of different steps and different materials! And the result is great! Thnx for sharing all the steps ....
This is awesome...I love it...love all the details...your pictures and process is so clear and awesome...
x0x0x
Monica
great tutorial! I love dragonflies and this is a beautiful and poetical piece.
Wowza! Love how you acheived the tarnished copper look with this piece, so much texture and fun. xx
Oh how I love your dragonfly! What a great use of earthy tones and love how you combined dies and stains! I came over to thank you for the lovely comment you left on my blog for Artistic Outpost's blog hop, but I am so thrilled that you joined us at A Vintage Journey as well with this beauty!
Post a Comment